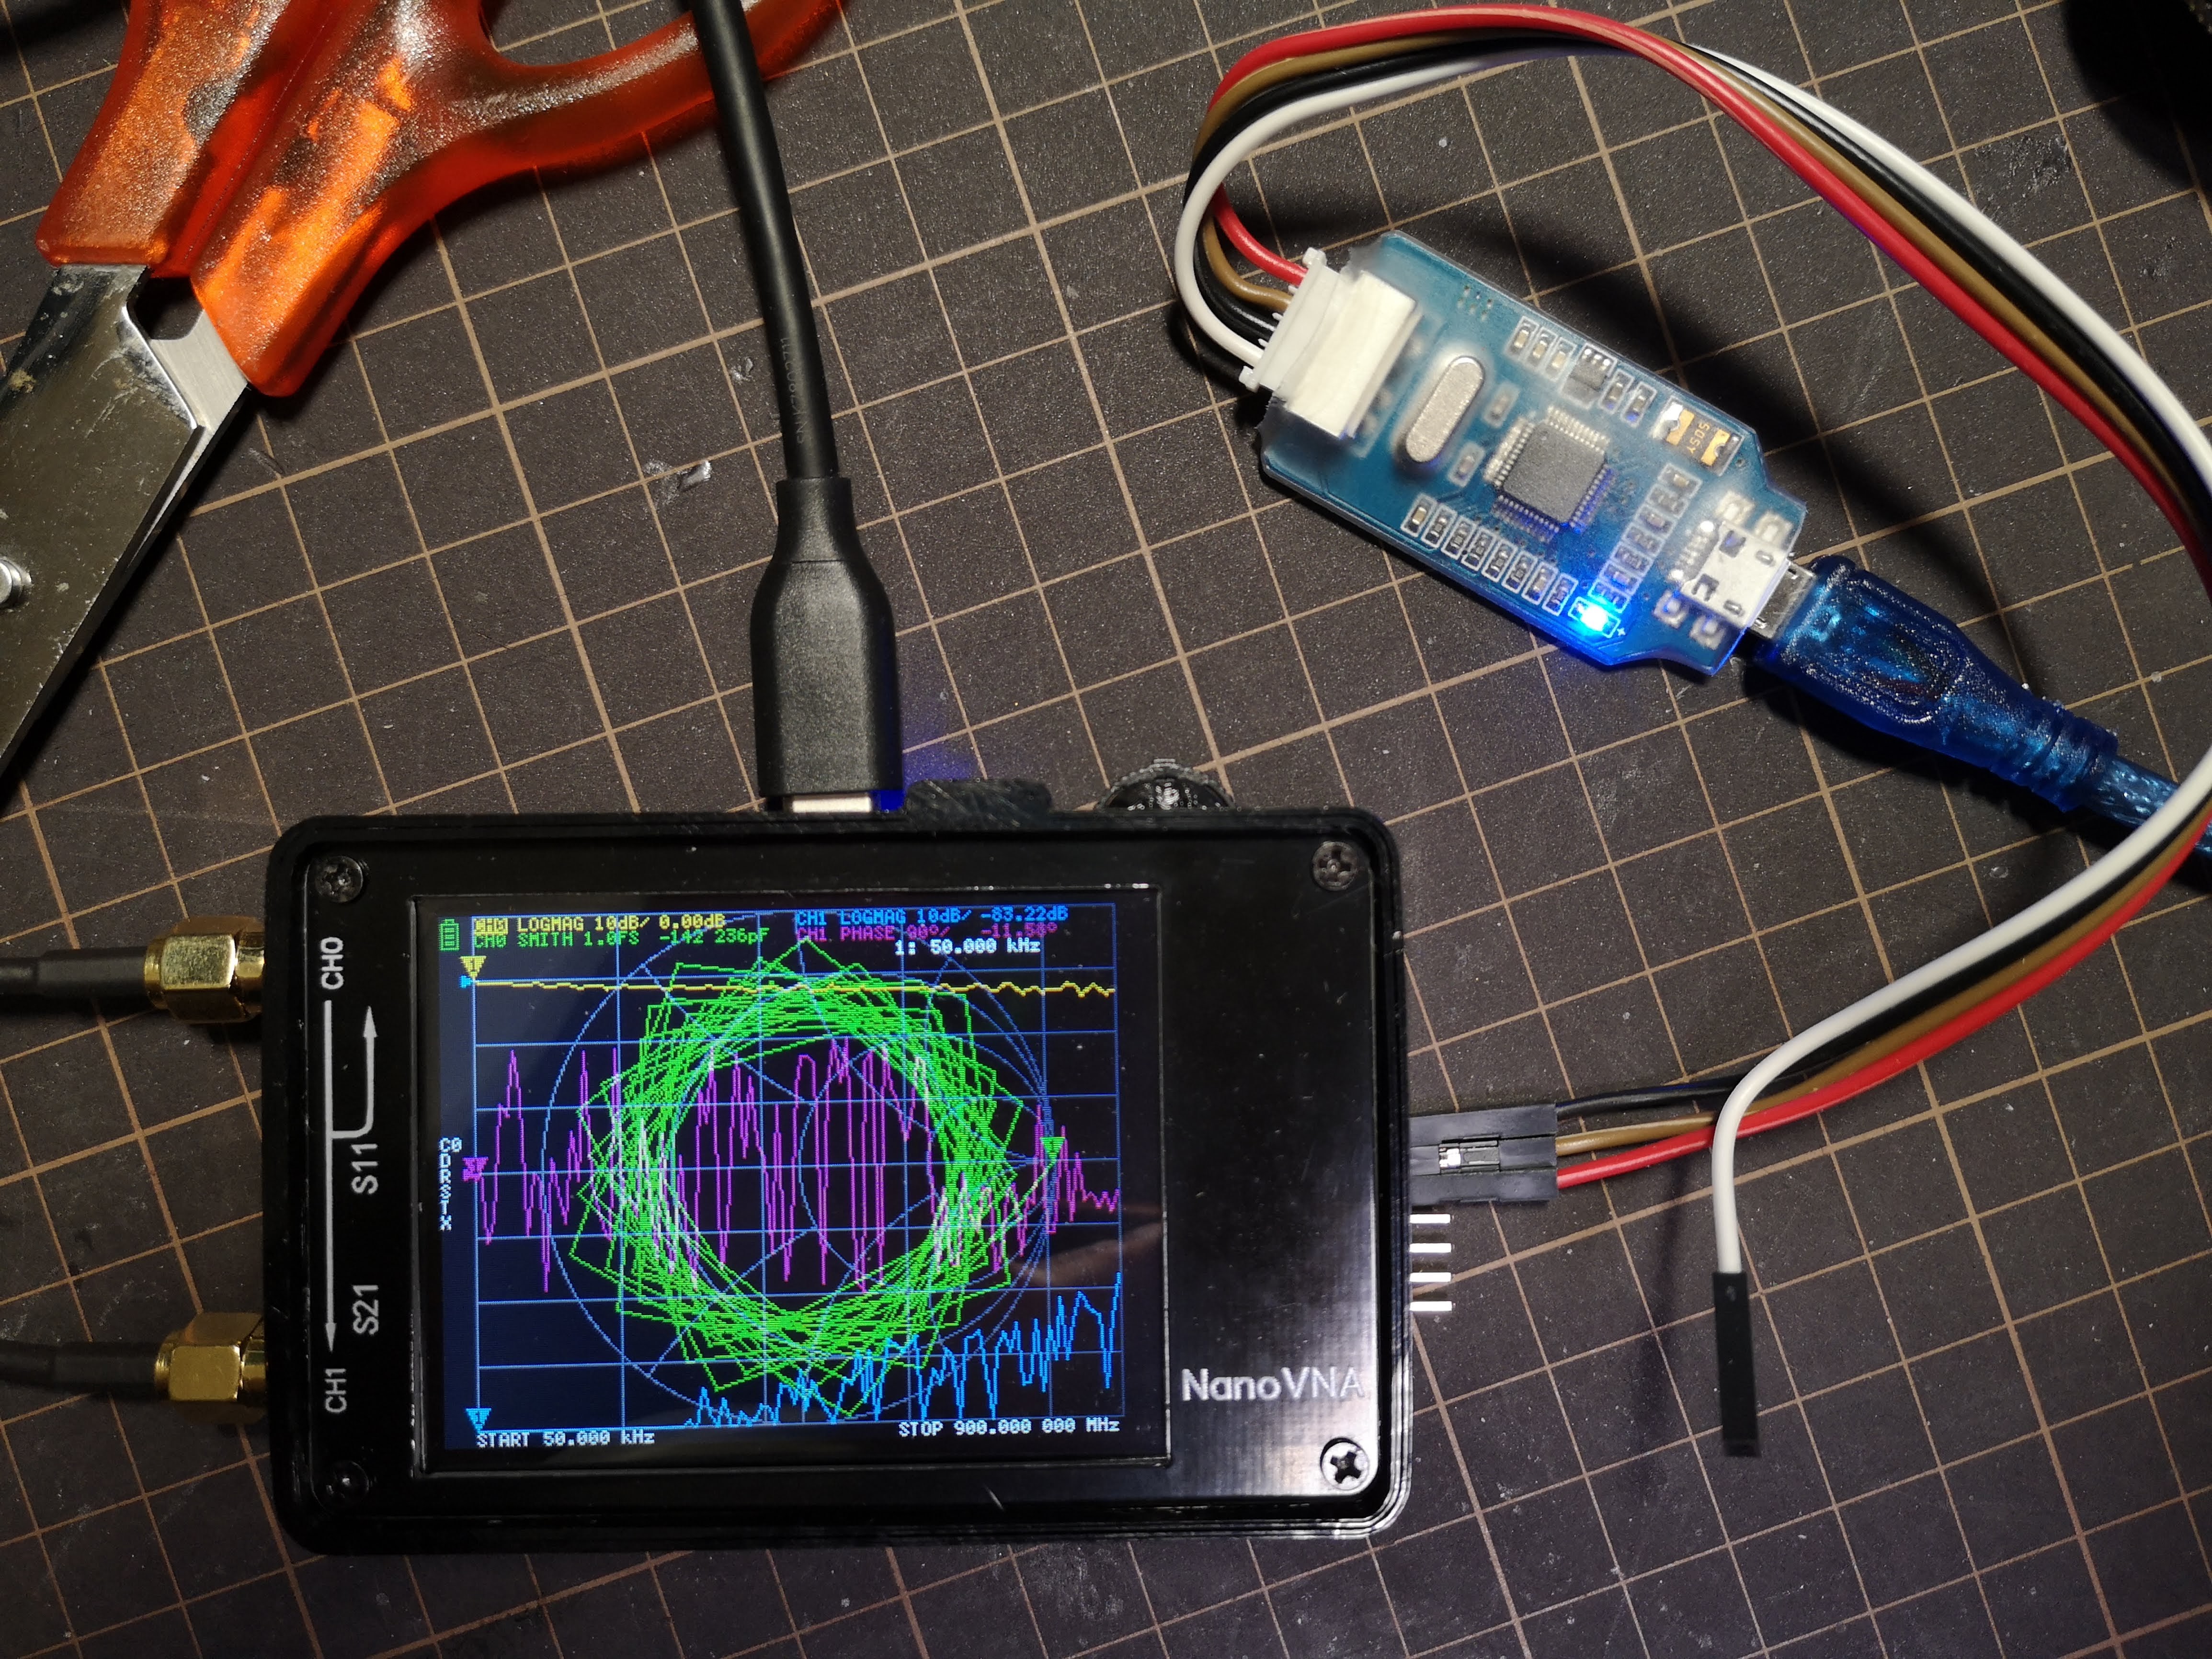
NanoVNA (stm32f07) に対しての書きこみで、どの方法が早いのだろうか?と気になったので試した。対象は 95764bytes の ch.bin
結論からいうと SWD 経由の書きこみが早い。
USB 経由で dfu-util を使い書きこむ場合 → 18.7秒
(前もって DFU モードでブートする必要あり)
$ time dfu-util -d 0483:df11 -a 0 -s 0x08000000:leave -D build/ch.bin
dfu-util 0.9

Copyright 2005-2009 Weston Schmidt, Harald Welte and OpenMoko Inc.
Copyright 2010-2016 Tormod Volden and Stefan Schmidt
This program is Free Software and has ABSOLUTELY NO WARRANTY
Please report bugs to http://sourceforge.net/p/dfu-util/tickets/

dfu-util: Invalid DFU suffix signature
dfu-util: A valid DFU suffix will be required in a future dfu-util release!!!
Opening DFU capable USB device...
ID 0483:df11
Run-time device DFU version 011a
Claiming USB DFU Interface...
Setting Alternate Setting #0 ...
Determining device status: state = dfuERROR, status = 10
dfuERROR, clearing status
Determining device status: state = dfuIDLE, status = 0
dfuIDLE, continuing
DFU mode device DFU version 011a
Device returned transfer size 2048
DfuSe interface name: "Internal Flash  "
Downloading to address = 0x08000000, size = 95764
Download        [=========================] 100%        95764 bytes
Download done.
File downloaded successfully
Transitioning to dfuMANIFEST state
dfu-util -d 0483:df11 -a 0 -s 0x08000000:leave -D build/ch.bin  0.02s user 0.06s system 0% cpu 18.737 total
OpenOCD で書きこむ場合
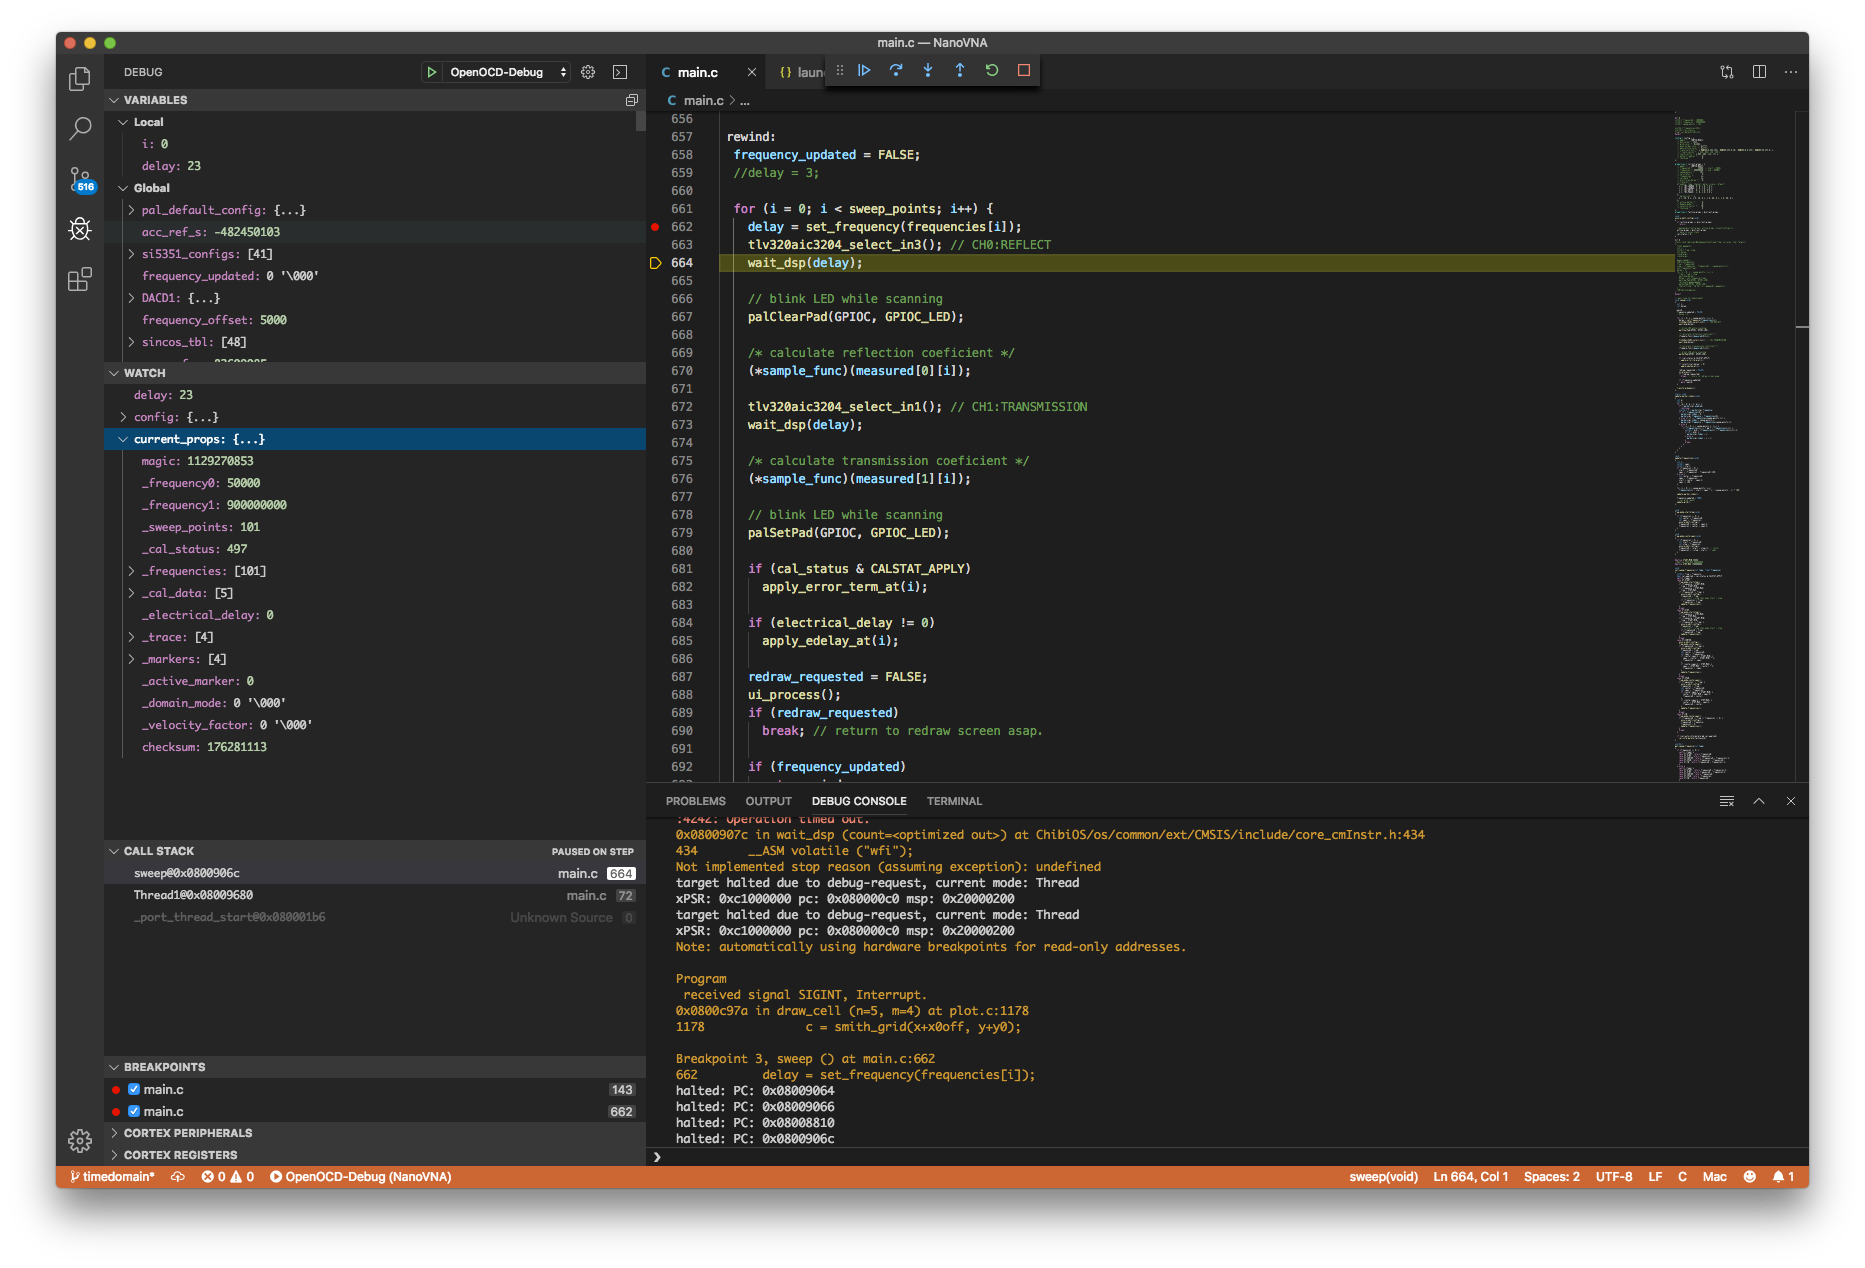
OpenOCD からデバッグではなくプログラムを書きこむ場合
http://openocd.org/doc/html/Flash-Programming.html#Flash-Programming これの通りだけど、基本的に program コマンドを使えばよい。
program の実装は https://github.com/ntfreak/openocd/blob/master/src/flash/startup.tcl で、いくつかのコマンドを呼びだすラッパーになっている。
stm32f0x だと stm32f0x.cfg で reset 直後に 48MHz クロックを起動して JTAG の最高速度を 8MHz まで上げている。
OpenOCD 経由の ST-Link2 → 4.3秒

USB 経由と違って、いきなりコマンドを実行すれば書きこめる。
$ time openocd -f interface/stlink.cfg -f target/stm32f0x.cfg  -c "program ./build/ch.bin 0x08000000 verify reset exit"
Open On-Chip Debugger 0.10.0+dev-00930-g09eb941c (2019-09-14-00:35)
Licensed under GNU GPL v2
For bug reports, read
        http://openocd.org/doc/doxygen/bugs.html
Info : auto-selecting first available session transport "hla_swd". To override use 'transport select <transport>'.
Info : The selected transport took over low-level target control. The results might differ compared to plain JTAG/SWD
Info : clock speed 1000 kHz
Info : STLINK V2J34S7 (API v2) VID:PID 0483:3748
Info : Target voltage: 3.261130
Info : stm32f0x.cpu: hardware has 4 breakpoints, 2 watchpoints
Info : Listening on port 3333 for gdb connections
Info : Unable to match requested speed 1000 kHz, using 950 kHz
Info : Unable to match requested speed 1000 kHz, using 950 kHz
target halted due to debug-request, current mode: Thread
xPSR: 0xc1000000 pc: 0x080000c0 msp: 0x20000200
Info : Unable to match requested speed 8000 kHz, using 4000 kHz
Info : Unable to match requested speed 8000 kHz, using 4000 kHz
** Programming Started **
Info : device id = 0x20016448
Info : flash size = 128kbytes
** Programming Finished **
** Verify Started **
** Verified OK **
** Resetting Target **
Info : Unable to match requested speed 1000 kHz, using 950 kHz
Info : Unable to match requested speed 1000 kHz, using 950 kHz
shutdown command invoked
openocd -f interface/stlink.cfg -f target/stm32f0x.cfg -c   0.37s user 0.83s system 27% cpu 4.365 total
OpenOCD 経由の中華 J-Link OB → 4.6秒
nRF51 で一回試したっきり使っていない怪しい J-Link OB
USB 経由と違って、いきなりコマンドを実行すれば書きこめる。デフォルト JTAG なので、ちゃんと SWD を指定しないとダメです。
$ time openocd -f interface/jlink.cfg -c "transport select swd" -f target/stm32f0x.cfg   -c "program ./build/ch.bin 0x08000000 verify reset exit"
Open On-Chip Debugger 0.10.0+dev-00930-g09eb941c (2019-09-14-00:35)
Licensed under GNU GPL v2
For bug reports, read
        http://openocd.org/doc/doxygen/bugs.html
swd
Info : J-Link ARM-OB STM32 compiled Aug 22 2012 19:52:04
Info : Hardware version: 7.00
Info : VTarget = 3.300 V
Info : clock speed 1000 kHz
Info : SWD DPIDR 0x0bb11477
Info : stm32f0x.cpu: hardware has 4 breakpoints, 2 watchpoints
Info : stm32f0x.cpu: external reset detected
Info : Listening on port 3333 for gdb connections
target halted due to debug-request, current mode: Thread
xPSR: 0xc1000000 pc: 0x080000c0 msp: 0x20000200
** Programming Started **
Info : device id = 0x20016448
Info : flash size = 128kbytes
** Programming Finished **
** Verify Started **
** Verified OK **
** Resetting Target **
shutdown command invoked
openocd -f interface/jlink.cfg -c "transport select swd" -f -c 0.25s user 0.52s system 16% cpu 4.628 total 


.png)
 (1).png)